DIY Success - Installing Your New Shower Unit Properly
DIY Success - Installing Your New Shower Unit Properly
Blog Article
We have come across this great article pertaining to How to Install a Direct-to-Stud Shower Enclosure listed below on the internet and decided it made perfect sense to talk about it with you here.
An effective shower installment needs careful preparation and a great deal of work. Most of the times, you will certainly need to do 3 kinds of tasks: mounting walls, mounting the plumbing, as well as finishing wall surfaces.
Different Kinds Of Shower Units
Many Common Blunders
Preparation.
To start with, you should select the type of shower that you want to mount. It is essential to identify whether the picked shower is capable of handling particular systems and can control a secure level of water with the central heating boiler. Many shower systems nowadays are designed to be versatile to various water stress (such as saved hot water and also cold mains).
It is additionally essential to think about the water pressure as well as the preparation of the piping and drain for the shower.
Approach.
Relying on the type of shower you want to install, the shower head should either be suited order to avoid its contact with the water in the bath listed below or the base tray, or it must have a check valve.
Prior to beginning, it is recommended to note the placements of the shower head and control, as well as to intend the pipe-work involved. Furthermore, the drain system to get rid of the waste water will require to be intended. Both positions of the cable television path and also the shower switch will likewise require to be taken into consideration if an immediate or electrical shower device is being installed.
Use the instruction guide offered with the shower unit to fit the shower control.Before fitting the pipes that will supply the water to the shower system, it is very important to cut off the water system. In order to secure the pipelines, they must be offered a water-proof covering as well as additionally fitted with separating shutoffs. The pipelines can after that be hidden right into the wall surface and also glued over to neaten the general appearance.
Fit the base tray, shower head, as well as installations.
Link the primary shower control to the pipes that will certainly be providing the water (This might need a female screw thread adapter).
Reconnect the supply of water and test the pipes for any leakages, as some might require tightening up.
If you are setting up an electrical shower, keep in mind to switch off the electrical power supply before making any kind of electric links. When these connections have been made (there should be advice within the user's manual), the power supply can be switched over back on.
Changing Water Pressure to Suit Your Shower.
The cold water storage tank can be raised to a higher height (in some cases as little as 150mm (6inches)) by installation a solid wooden support beneath it - perhaps made up of struts as well as blockboards. If you choose this alternative, the major as well as distribution pipelines will certainly likewise have to be increased to satisfy the new elevation of the tank.
Alternatively, a booster pump (a solitary pump or a dual/twin pump) can be fitted. Whichever kind is selected, it must be attached right into the power supply in order to operate.
Piping and also Water drainage.
It is best to utilize 15mm diameter supply pipes, and also make the go to the shower as short and also straight as feasible so as to maintain optimal pressure and reduce heat loss. In addition, by reducing using elbows for pipeline corners, you can lower the resistance in the circulation of the water supply. You can attain this by bending the pipelines instead.
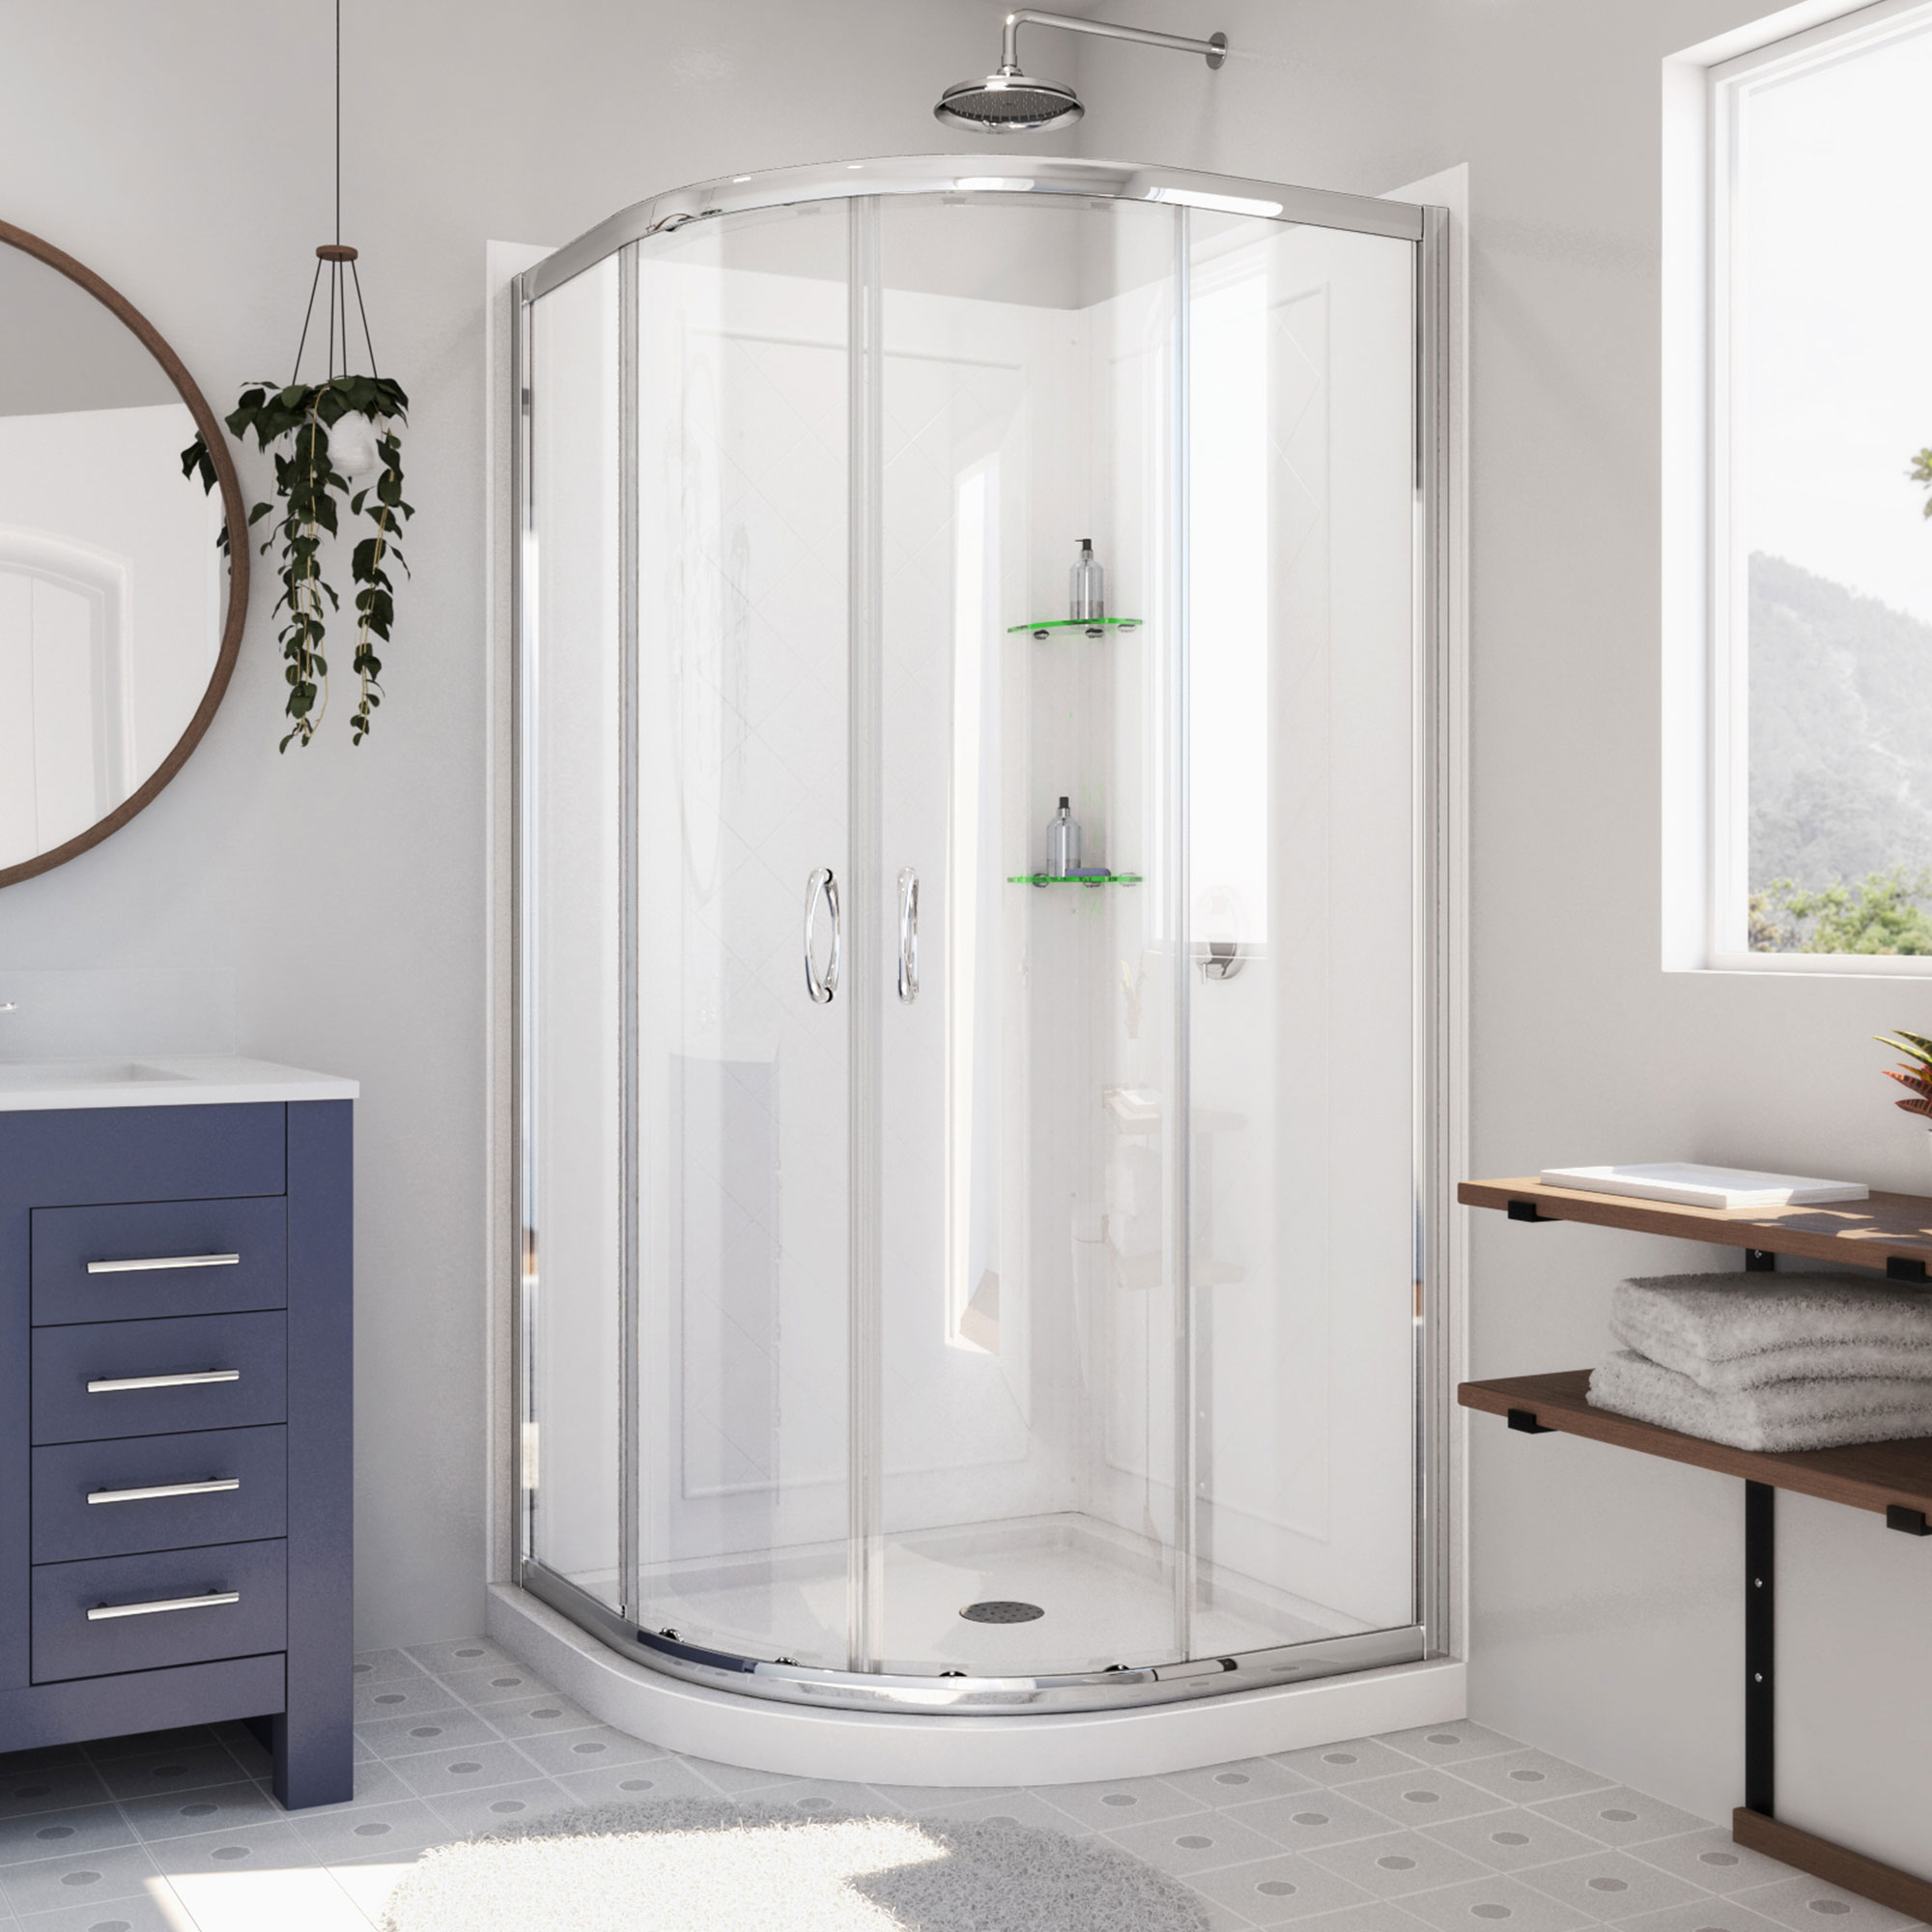
Most Popular Shower Enclosure Options to Upgrade Your Bathroom
Frameless Shower Enclosures
Switching to a frameless shower enclosure can instantly add a modern feel to your bathroom. This type of shower enclosure eliminates the visual obstruction of frames, providing a seamless flow using fully customisable glass.
Since they are fully customisable, it fits all sizes and shapes of your bathroom space. You can also design it in a way suitable for an expansive spa shower.
In-line Shower Options
Another popular shower enclosure option you can use to upgrade your bathroom is an in-line shower. This type of shower installs a shower glass in-line with an adjacent wall, keeping water within the shower area.
You can have two options for in-line showers: hinged doors and sliding doors. An in-line shower with hinged doors allows you to have one glass shower door mounted on one side and open the door outwards. Meanwhile, in-line showers with sliding doors will enable you to save space but are more expensive.
Semi-Frameless Shower Enclosures
The semi-frameless shower enclosure is also an excellent shower enclosure option as it reduces the possibility of mould. Since the glass door is frameless, there’s no way soap and water will be stuck on it. But to ensure that there’s no way for mould to flourish in your bathroom, choose frameless shower enclosures instead.
Semi-frameless shower enclosures are the ideal choice if you adore the design of frameless showers but would prefer a more affordable solution. These types of shower enclosures have a range of options available by the glass manufacturing process in accordance with various height specifications.
You can also customise this type of shower enclosure. However, your options might be limited because of the standard sizes and heights.
Glass Block Shower Enclosure
If you don’t want a bathroom door and walk-in glass shower enclosures are not an option either, a glass block shower enclosure is for you. Glass blocks will allow your bathroom to access maximum daylight while having the privacy it offers. Also, glass block enclosures might require a bit more effort to clean than other enclosures, but they are durable and versatile options.
You can also be creative when using glass blocks for your bathroom. Since this type of shower enclosure is made of small glass blocks, you can easily create a unique shower enclosure shape. There are many options for thickness, styles, and colours, too.
Final Thoughts
Upgrading your bathroom with a new shower enclosure is a great way to add value to your home. Not only will it appear nice, but it will also be more functional and efficient. When choosing a shower enclosure, pick one that fits the style of your bathroom and your budget. It’s also paramount to take note of the pros and cons of each type before installation to ensure you don’t miss anything important.
https://gharpedia.com/blog/shower-enclosure-to-upgrade-bathroom/
We were shown that report on How to Build a Shower Enclosure for Your DIY Bathroom through an associate on our other site. Liked our blog? Please share it. Help somebody else discover it. I appreciate reading our article about How to Install a Shower Enclosure .
Instant Quote
Report this page